Switching from Dashlane to DataVault Password Manager
Data stored in Dashlane can be imported directly into DataVault by following the instructions below.
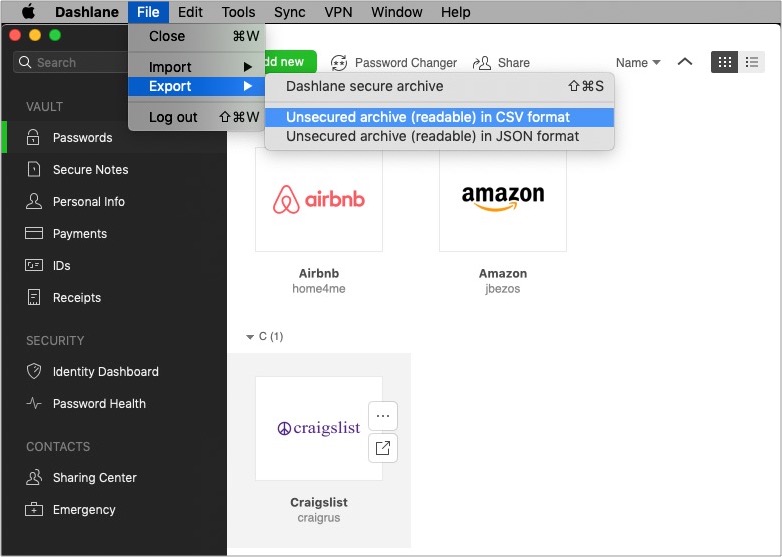
Exporting from Dashlane for Mac
- Start Dashlane.
- Click on File > Export > Unsecured archive in CSV format
- Select filename, folder and Save.
Importing into DataVault for iOS
- Export items from Dashlane into a CSV file as described above.
- Drag the CSV file into iCloud Drive located on the left side of Finder under Favorites.
- Start DataVault, tap on the Tools & Setting icon > Backup & Restore > Import CSV.
- Tap Choose File and select the Dashlane CSV file.
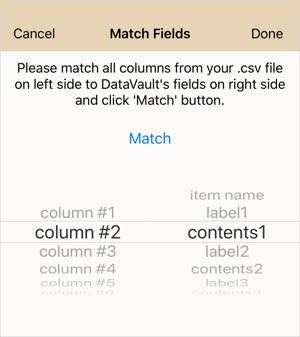
- Align fields and tap Match accordingly.
- column #1: item name
- column #2: contents1
- column #3: contents2
- column #5: contents4
- column #6: contents3
- column #7: notes
- Tap Done.
If you use custom fields in Dashlane, you may need to match other columns
To see how your Dashlane data is organized, open the CSV file in a spreadsheet.
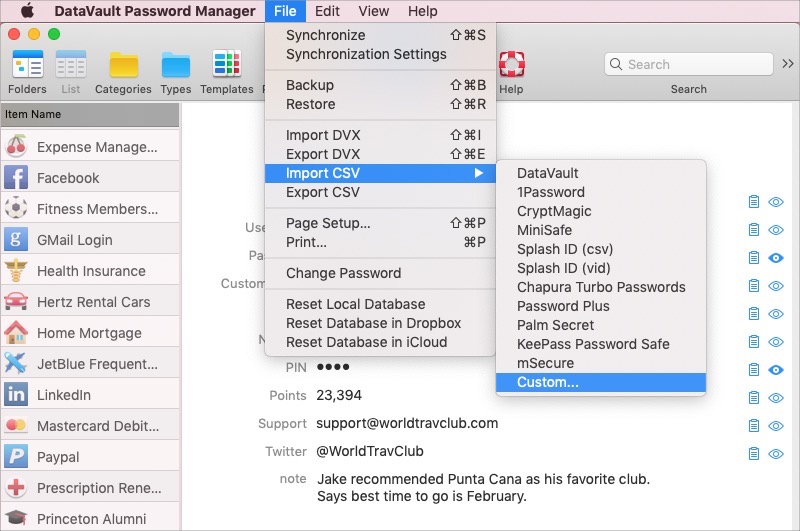
Importing into DataVault for Mac
From the DataVault for Mac text menu, Choose Import > Custom... and select the Dashlane text file on your desktop.
Configure the import file as shown in the screenshot below.
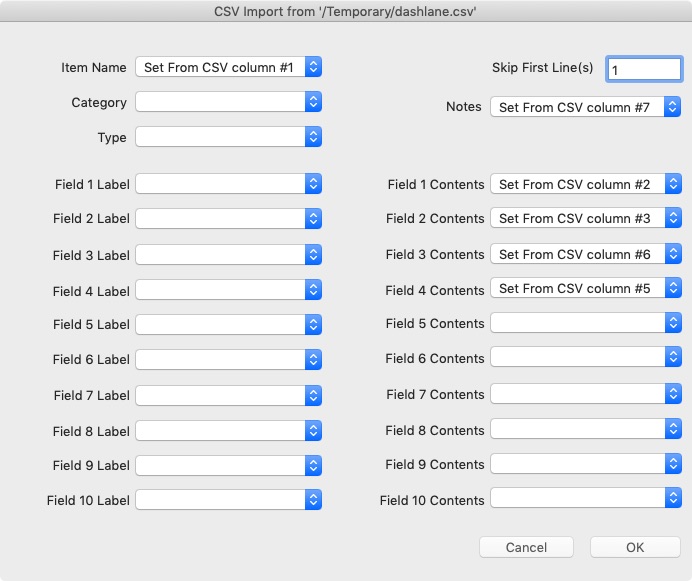
Dashlane doesn't export field labels. However, you can edit items in DataVault and select a template to automatically choose an icon and field labels.
If you have any questions, email datavault@ascendo.co